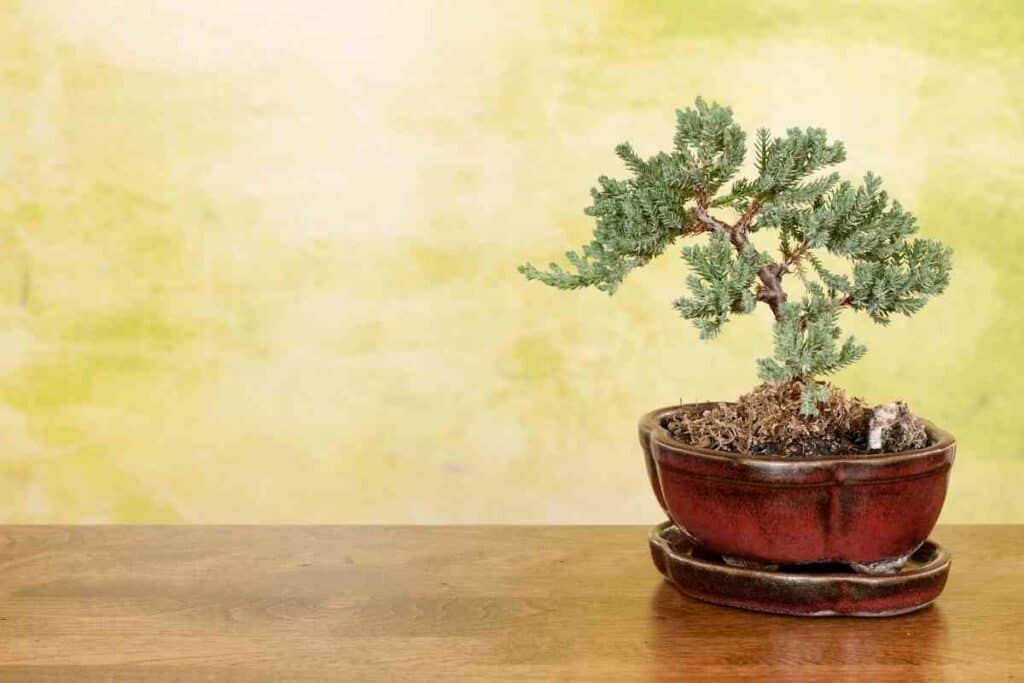
Early spring is the optimum time to repot a juniper bonsai since they are still dormant and the buds are just starting to expand.
Because they are not supporting full-grown foliage at this point, the detrimental effect of repotting will be limited.
Repotting in the early spring will guarantee that any damage to the root system is healed as soon as the tree develops.
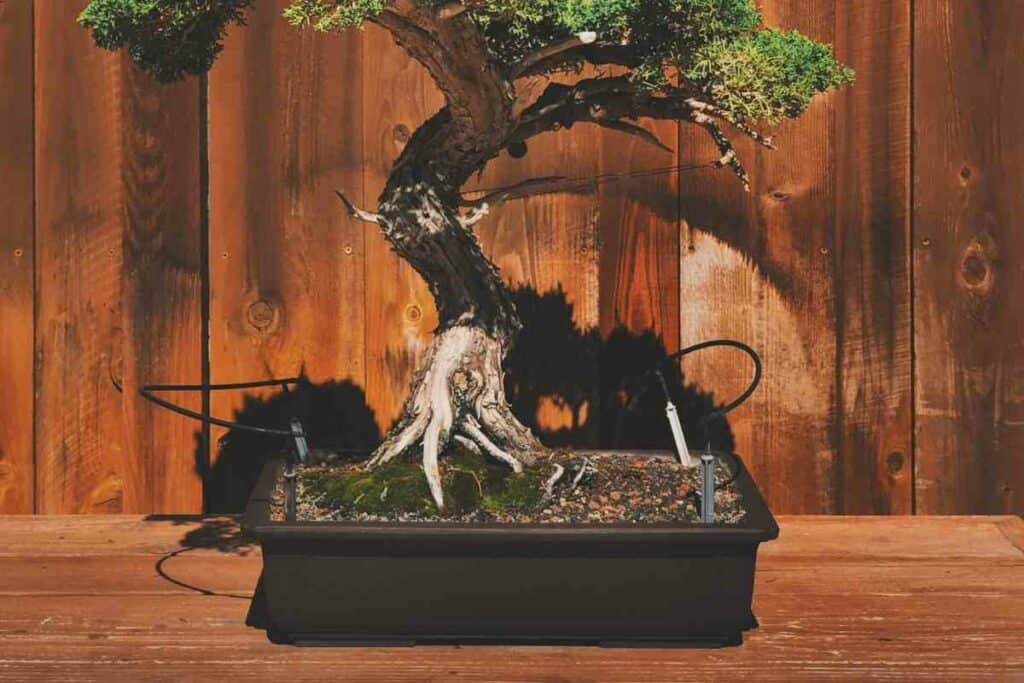
Like any other plant growing in a pot, Juniper bonsai requires adequate care and maintenance.
It is essential to repot or transplant juniper bonsai to keep it from becoming pot-bound and eventually starved to death.
Furthermore – The plants’ roots will fill the pot as it develops, and their capacity to deliver nutrients to the rest of the plant will reduce with time.
Therefore, repotting your bonsai will replenish the tree’s nutrients, allowing it to develop and thrive.
Table of Contents
When Is The Ideal Time of The Year to Repot Juniper Bonsai?
In general, juniper bonsai should be repotted when it’s still in its dormancy, and that is from late winter to early spring when the weather begins to warm up.
At this point, looking at your bonsai tree, you will discover the buds that had been left on the tree after all of the leaves had fallen off are beginning to perk up and swell.
This is the ideal time to carry out repotting.
This is because spring is their growing season, and it is when the plant can repair itself.
Therefore, trimming their roots too early in dormancy causes the roots to stay unhealed and open, making them prone to root rot and infections.
Secondly, you should know how often to repot your juniper bonsai. Generally, bonsai plants, especially juniper kinds, do not need to be repotted frequently.
Keep In Mind: Young juniper bonsai trees should be repotted every two years, while older trees can go up to five years without being repotted.
What Are The Signs That You Need to Repot Your Juniper Bonsai
Look for these distinct signs that indicate your juniper bonsai needs to be repotted; they all suggest that the tree is outgrowing its container and that the tree’s health may be jeopardized soon.
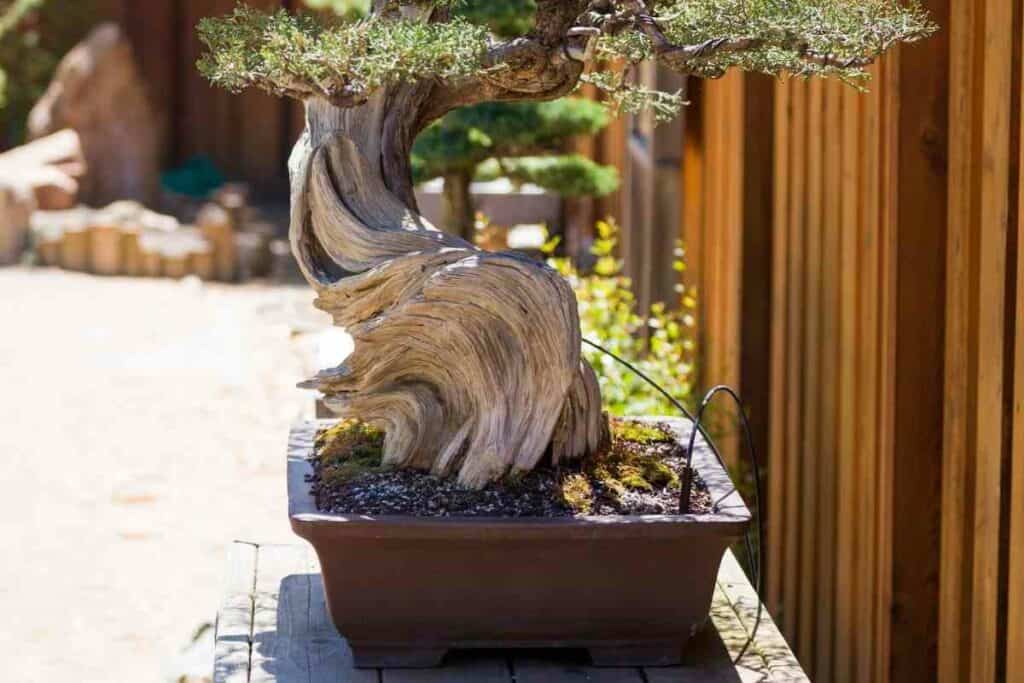
- The most straightforward approach to find out is to examine its root system. Examine the roots of the plant after gently removing it from its container. If they are circling themselves, the tree needs to be repotted. If you don’t remove it immediately, the roots will ultimately take over and displace the soil, starving the tree of nutrients.
- Repotting the bonsai may be essential if the tree grows more slowly than is usual for the tree species (juniper bonsai usually add between 6 and 12 inches of height per year).
- The length of time it takes for your juniper bonsai to dry out after watering changes significantly.
- The root ball comes out quickly and in one clump when the tree is hauled up.
- When the roots appear to have compressed the soil, the roots rise upward towards the surface.
- Other signs include: reduced leaf size yellowing of foliage; it may be time to repot.
How to Repot Juniper Bonsai
Step 1: Determine Which Pot Size Is Best for Your Plant
When it comes to repotting, some indoor gardeners take this pretty lightly.
Instead of replacing their plant’s pot with a larger one, they remove the plant, refill its soil, and replant it in the same pot.
You can only do this if your bonsai did not outgrow its pot.
Suppose you’ve established that your plant requires a larger pot.
You should measure the present diameter of your bonsai and then add two to four inches to that measurement to acquire the new pot size.
Step 2: Remove Your Bonsai
Remove your bonsai tree from its pot gently.
Tap the bottom of the pot by turning it upside down. You don’t want to pull too hard on the tree for fear of damaging it.
Step 3: Remove The Old Soil From The Roots of The Tree
You’ll need to remove as much of the old soil as possible once you’ve removed the tree from its container.
Using your fingers or a root hook, knock the dirt out of the root system. If the roots have grown densely together, gently untangle them.
Take care not to injure the roots. Do not remove all of the soil; a small amount of the old dirt is biologically beneficial.
Step 4: Root Pruning
After you’ve untangled the roots, trim the longer roots to protect the tree from outgrowing its new container.
You should also remove any roots that look decaying at this stage, avoiding those with fresh roots or tiny white hairs.
As a General Guideline: Avoid removing more than 40% of the total root mass of the tree.
Step 5: Rehome Your Tree
After you’ve finished cutting the roots, gently place the tree back into the container.
If your bonsai plant will remain in the same pot, remove all of the old soil from the container. Clean it with water, not soap.
If you’re relocating your plant to a new pot, fill the container almost to the brim with bonsai potting mix.
Work the soil into the root system until there are no more air spaces between the roots.
Step 6: Water The Bonsai
Watering is vital for the recovery of your tree.
So don’t skip this step. Make sure there is enough water in the pot so that you can see it coming out of the drainage holes at the bottom.
After repotting, keep the tree away from severe winds for about a month.
Why Is It Essential to Repot Juniper Bonsai?
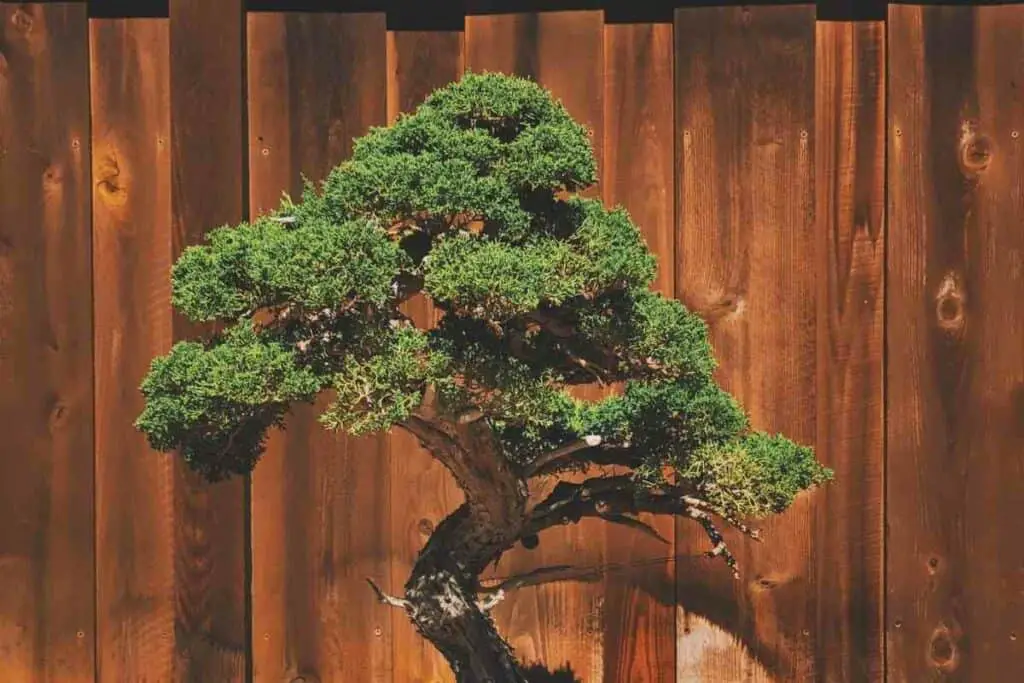
Juniper bonsai are living things that are continually evolving.
They always grow larger extensive root systems to give the necessary amounts of water and nutrients to their ever-expanding canopy of leaves.
Root systems of juniper bonsai growing in the ground can extend freely in the soil, searching for water and nutrients.
However, container-raised juniper bonsai plants, on the other hand, are limited in how far they can grow due to the size of their pot.
Because the bonsai pot has a limited amount of space, the entire bonsai substrate in the pot will be rooted through after a given amount of time.
This causes a problem: there is no more ample room for developing new roots, which are critical to a plant’s reception of water and nutrients.
Therefore, the soil structure deteriorates, and the plant suffers.
This can be solved by repotting the bonsai. A new one, coarser substrate, replaces the disintegrated, fine soil.
In Many Cases: Part of the roots is removed by a root cut, thus creating space for further growth. If juniper bonsai is not repotted at the right time, it will become weaker and weaker over time and eventually die.
Final Thoughts
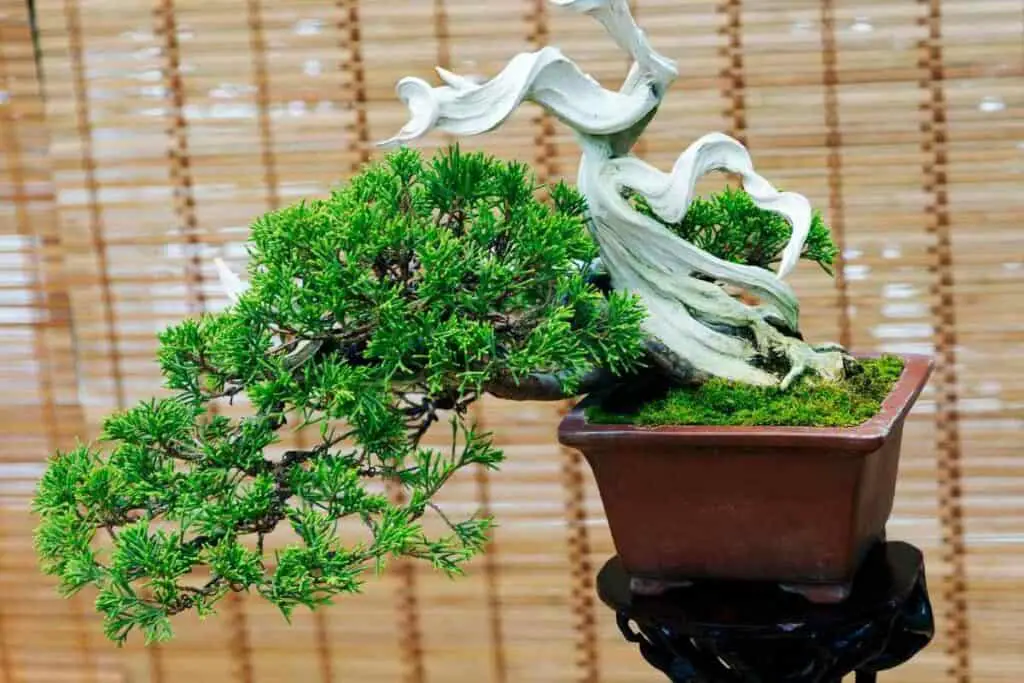
Juniper bonsai are lovely plants to grow, but they require a bit more attention than other houseplants.
Growing these trees takes so much time and attention that it might be difficult to imagine removing them from their pots and the soil they grow in.
Repotting is an important aspect of keeping the tree healthy. Throughout its life, your juniper bonsai will require repotting several times.
The optimal time to repot your juniper bonsai is when it shows the first symptoms of bud-burst at the end of its dormant phase and just before it commences its new growth season.
Repotting your juniper bonsai helps keep it as healthy and “happy” as possible.
You May Also Read
- Best Japanese Knives Top Picks for Every Kitchen

- Japan’s Bold New Trend: Dressing Like a British Gentleman (or at Least Trying)
- 7 Best Japanese Sunscreen Products You Can Buy Online

- 5 Best Japanese Makeup Brushes for a Flawless Finish

- 7 Benefits Of Tatami Mats You Should Know
- The Best Furoshiki Wrapping Cloths: Inspiration, Ideas & Cloths You Can Buy