The Japanese tie-dyeing technique shibori is a wonderful art form.
The word itself comes from the verb shiboru, which means to squeeze, wring or press.
This fabric-dyeing technique has existed for thousands of years and there are many different types.
In This Article – We’ll explore the history of shibori and talk about 6 types of shibori, which are the most recognized and practiced.
Table of Contents
Shibori history
The history of shibori is often a matter for discussion as it is unclear where it originates.
Of course, it’s believed to have originated in Japan and some of the earliest surviving shibori examples were certainly made here.
However, there is debate as to whether Japan had the techniques needed to produce the fabrics that we often see in the earliest examples of shibori.
In terms of written history, one of the earliest descriptions of shibori was in 238 BC:
- This written description was recorded in the Chronicles of the Clans of Wei, which is a Chinese document.
- The document talks about 200 yards of ‘spotted cloth’ that was gifted to the Emperor of the Wei dynasty.
- This spotted cloth could well be a description of the wax-resistant fabric decoration we see on shibori.
The earliest examples of shibori fabric to have survived originated from the middle of the 8th century.
They were donated by Emperor Shomu to the Todaj-ji Buddhist temple when he died in 756 BC.
These earliest fabric fragments depict techniques that show wax resists, bound resists, and clamped and folded resists.
However, it is known that some of these shibori examples were actually from China and not Japan.
Chinese examples of this resist-dyeing (called jiao-xie in Chinese) date back much further to around 418 BC.
Booking.comTypes of Shibori techniques
Shibori is created in lots of different ways using different techniques.
There are three general types of shibori techniques.
These include:
- Bound or tied resists called kokechi
- Wax resists called rokechi
- Folded and clamped resists called kyokechi.
Most types of shibori techniques belong to these categories but there are a number of technique varieties within these too.
Choosing a technique
The types of shibori used are usually determined by the dyestuff and the fabric type.
With shibori, you need a fabric that is both easy to handle and pliant.
In Fact – Some types of shibori are now impossible to recreate because the fabric that you need to produce them is no longer made.
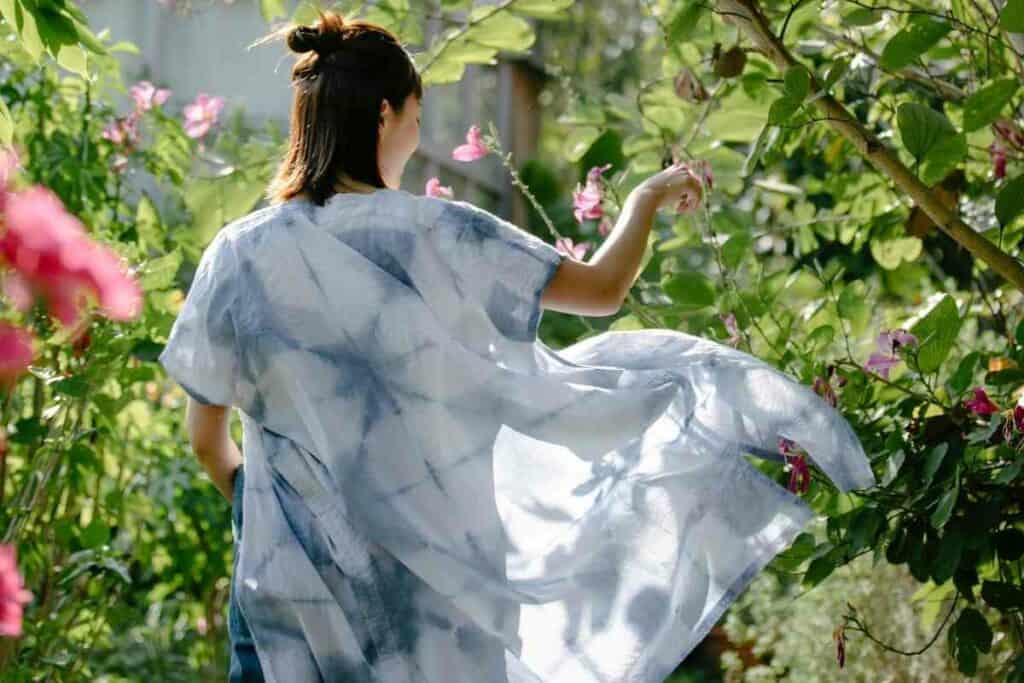
The shibori end results is often a large geometric or pictograph design like you’ll see on a shibori kimono, for example.
Some people simply choose to display a shibori fabric on its own.
Let’s look in more detail at the different types of shibori seen in Japan.
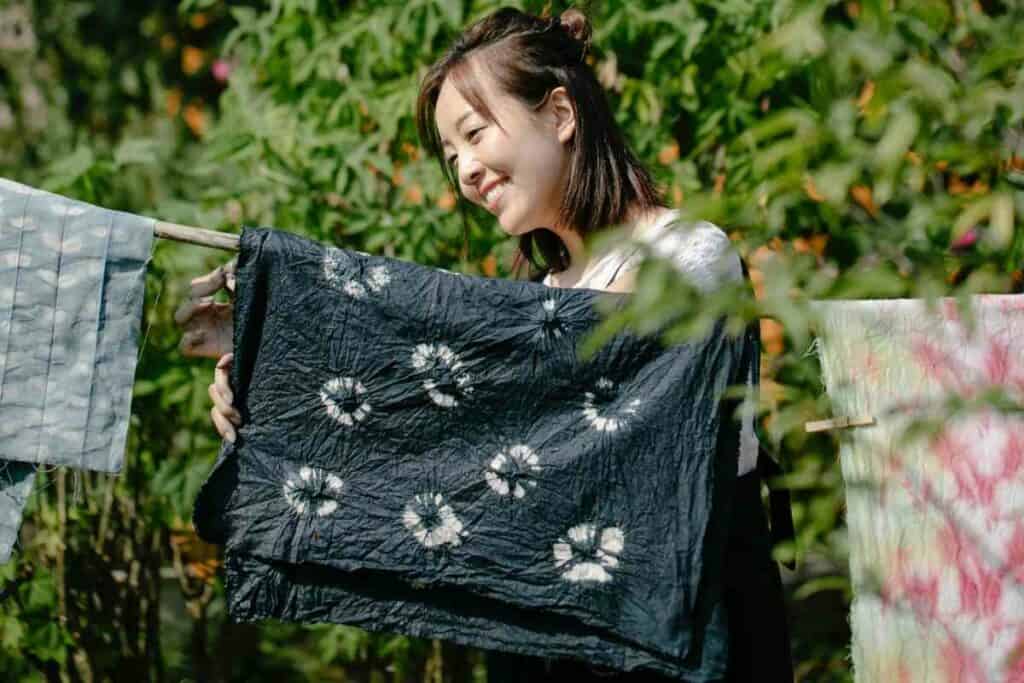
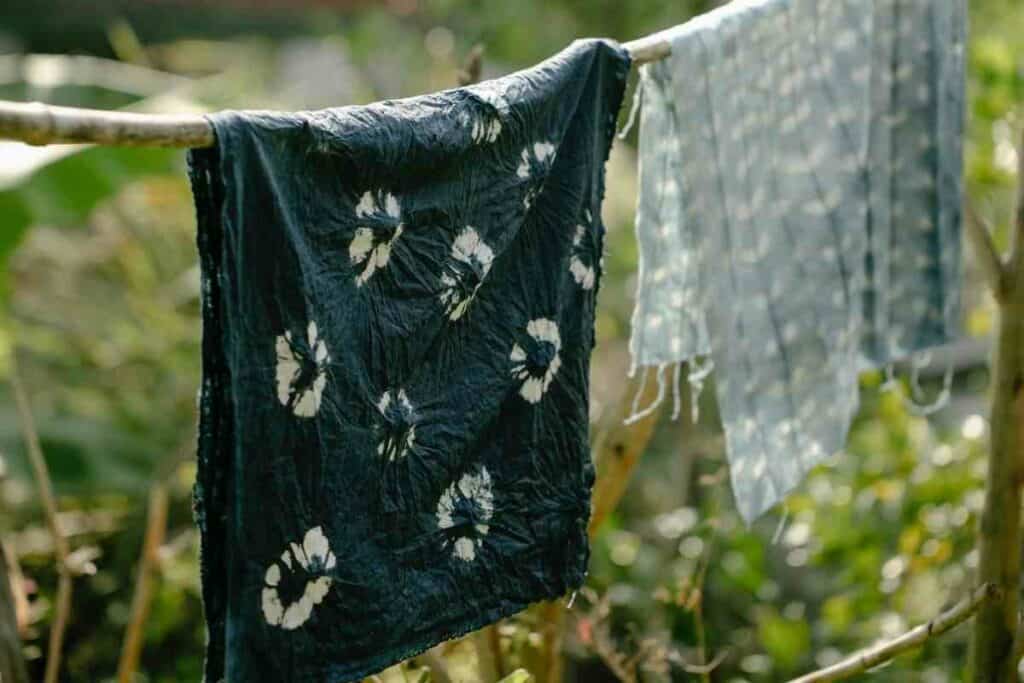
1. Kanoko shibori
This type of shibori is what people in the west would call “tie-dye.”
It involves wrapping thread around particular sections of your fabric.
In kanoko shibori, an untwisted thread called shike-ito is used to create your desired design.
The end result will depend upon the tightness of the binding and where it is bound.
If the cloth has random areas bound, the end result will look like circles scattered in random over the cloth.
If it is folded initially, the pattern and resulting circles will depend upon how it was folded.
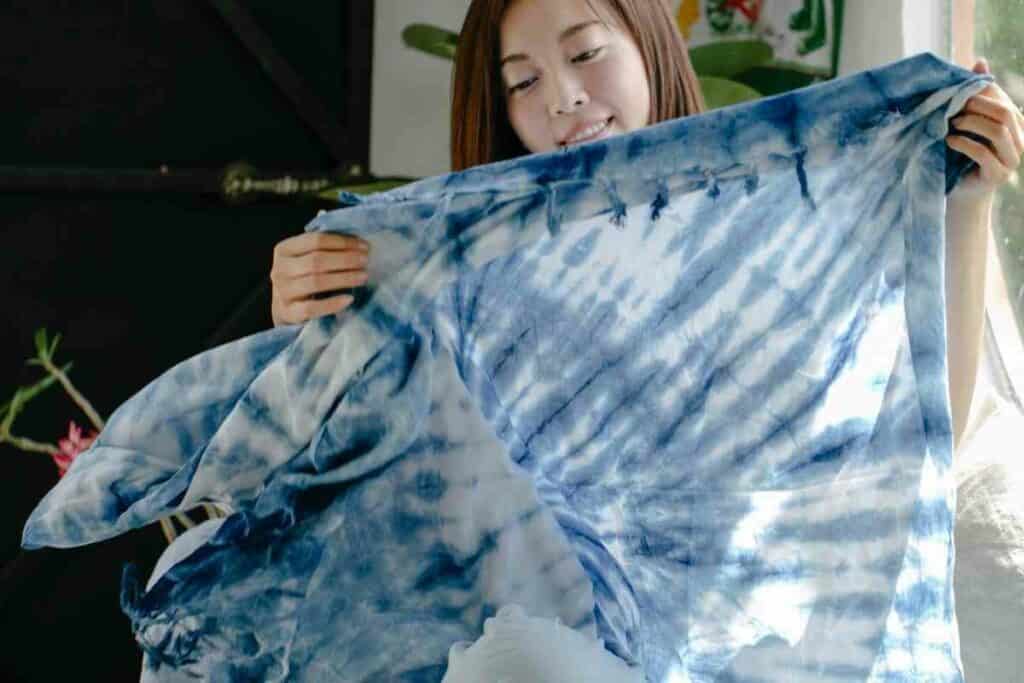
2. Miura shibori
This type of shibori is also called looped binding.
To create this design, you need to use a hooked needle and pluck out areas of the fabric.
After This – A thread will be looped twice around all of the sections. This thread isn’t knotted; what keeps the different sections in place is just tension.
With the miura shibori technique, the end result looks a little like a water pattern.
Since there are no knots in the thread used, it is easy to carry out this technique, which makes it very common.
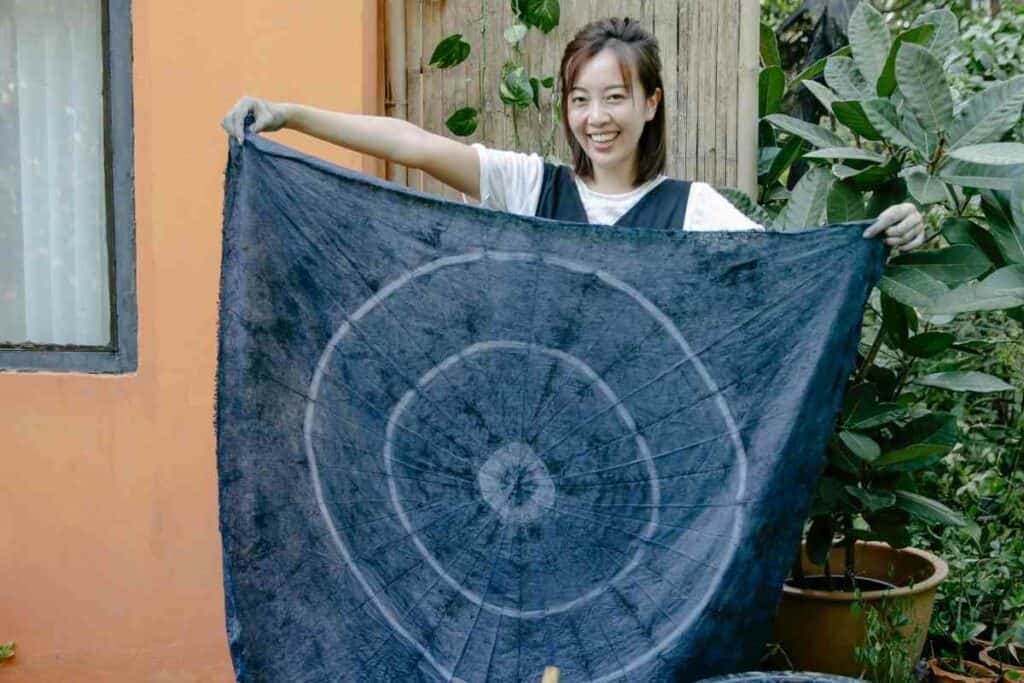
3. Kumo shibori
With kumo shibori, you use a pleated resist that is bound.
This shibori technique requires you to pleat sections of cloth evenly and finely. After this, the fabric is bound tightly in close sections.
The end result produces a spider-like design. Of all the types of shibori, this take a little more patience and precision to create.
4. Nui shibori
Of all the types of shibori, this is the only one that uses stitching.
Having said that, it is not complicated. To make nui shibori, people use a straightforward running stitch that’s pulled in to gather up the cloth.
This bit is the tricky part – the thread has to be pulled really tight for the technique to work.
Many people resort to using wooden dowel to help them pull the thread tight enough.
Unlike miura shibori, the thread used in nui shibori is knotted to secure the fabric before it is dyed.
With This Technique – You have better pattern control, and you can vary the pattern more. However, it is extremely time-consuming.
5. Arashi shibori
This type of shibori is known as the pole-wrapping technique.
As its name suggests, the fabric is wrapped diagonally around a pole. After this, thread is used to bind the cloth tightly to the pole all over its length.
When tied and bound, the fabric is then scrunched up before it is dyed. The end result gives you a pleated fabric with a diagonal-facing design.
In terms of etymology, arashi means ‘storm’ in Japanese.
The idea behind the arashi shibori technique is that the diagonal pattern represents a heavy storm and its driving rain.
6. Itajime shibori
Finally, the itajime shibori technique is a shaped-resist method.
In the traditional way of working, the fabric will be sandwiched between wood planks on both sides.
These will be held in place with a cord or string. Typically, you can expect the cloth to be folded at least once, but often more.
This creates a pattern that repeats with resists throughout when the cloth is unfolded.
Of all of the types of shibori, itajime shibori also has other intricacies in its traditions.
One of the traditional itajime shibori forms is called beni itajime, which means ‘red safflower squeezed board.’ This is also known as kyo beni or beni ita.
These types of shibori were used in lining underlayers and often had patterns that were created with red safflower dye, hence the beni name.
This technique was still being used in the early Showa period between 1926 and 1989.
Production was centered in Kyoto as well as a town called Takasaki in the Gunma Prefecture. The latter is well-known for producing lightweight, fine silks.
The last remaining dyeworks of the beni itajime shibori technique closed in 1932. These were located in Takasaki and were the Yoshimura dyeworks.
Understanding the itajime shibori technique
This dyeing technique wasn’t understood properly until Masanao Arai and Yoshiko Iwamoto Wada looked into it in 2010.
They researched beni itajime shibori using the archives of the Yoshimura dyeworks as well as the research group Takasaki-Beni-no Kai.
Their research unearthed that the wooden boards used in the process had all of their sides covered in lacquer apart from the center.
This was to resist the dye. Before being used, they were left soaking in water for two whole weeks. This is because if they were dry, they would distort the resist with their warping.
Before the dyeing took place, the board faces would have a thin layer of starch paste applied to their faces. This would help the silk adhere to the surface.
In the manufacture of the fabric, they used a low-quality, coarse silk.
This is because it was better at taking up the dye and it could be layered easily.
In Fact – The cloth would be folded an impressive eight times before being dyed. The folding technique used was the maki tatami method.
The ideal cloth for the itajime shibori technique would not weigh above 100g for a piece measuring 9.1 x 15 inches (23 x 38 cm).
With the fabric in place, the blocks were clamped tightly, before hot dye would be poured over.
The block would be rotated to ensure all sides were dye. This process took three hours.
Nowadays, lots of modern artists try to recreate the itajime shibori technique using plexiglass or acrylic and c-clamps instead of wooden boards and lacquer.
Final thoughts on types of shibori
It’s safe to say that all types of shibori are exquisite in their own right.
Who knew that there were so many complex ways of creating such amazing patterns?
What’s really interesting is just how recently the itajime shibori technique was still being used – and especially how much the details of the technique were kept under wraps until really recently!
Posts You May Like
- Best Japanese Knives Top Picks for Every Kitchen

- Japan’s Bold New Trend: Dressing Like a British Gentleman (or at Least Trying)
- 7 Best Japanese Sunscreen Products You Can Buy Online

- 5 Best Japanese Makeup Brushes for a Flawless Finish

- 7 Benefits Of Tatami Mats You Should Know
- The Best Furoshiki Wrapping Cloths: Inspiration, Ideas & Cloths You Can Buy