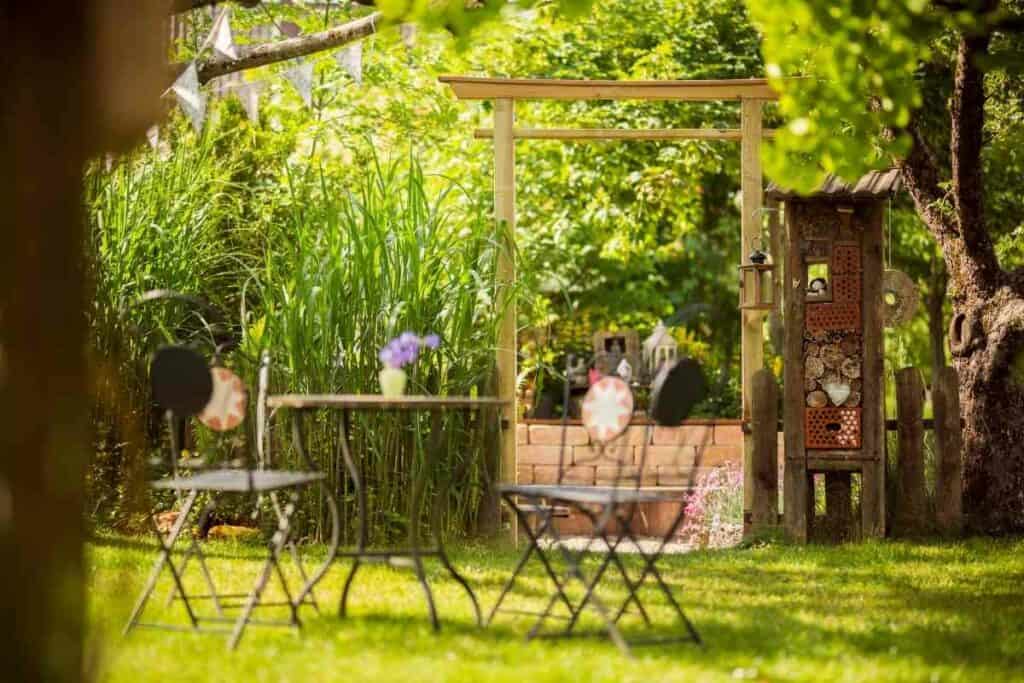
Japanese gardens are unequivocally calming.
For centuries, Japanese people have worked hard to create relaxing, peaceful outdoor spaces.
It’s only really in the last century that people in the West have started to appreciate and adopt the Japanese way of creating a garden.
So what makes a garden typically Japanese?
If a garden is to be a real Zen Garden, it will have to adhere to strict principles but people can simply choose to adopt the aspects of a Japanese garden that they like the most to create their own peaceful space.
Here are some typical Japanese garden features:
- A minimalist design
- A rock garden
- Soft, trickling water features
- A fish pond
- Rock and bamboo footpaths
- A carefully planned layout.
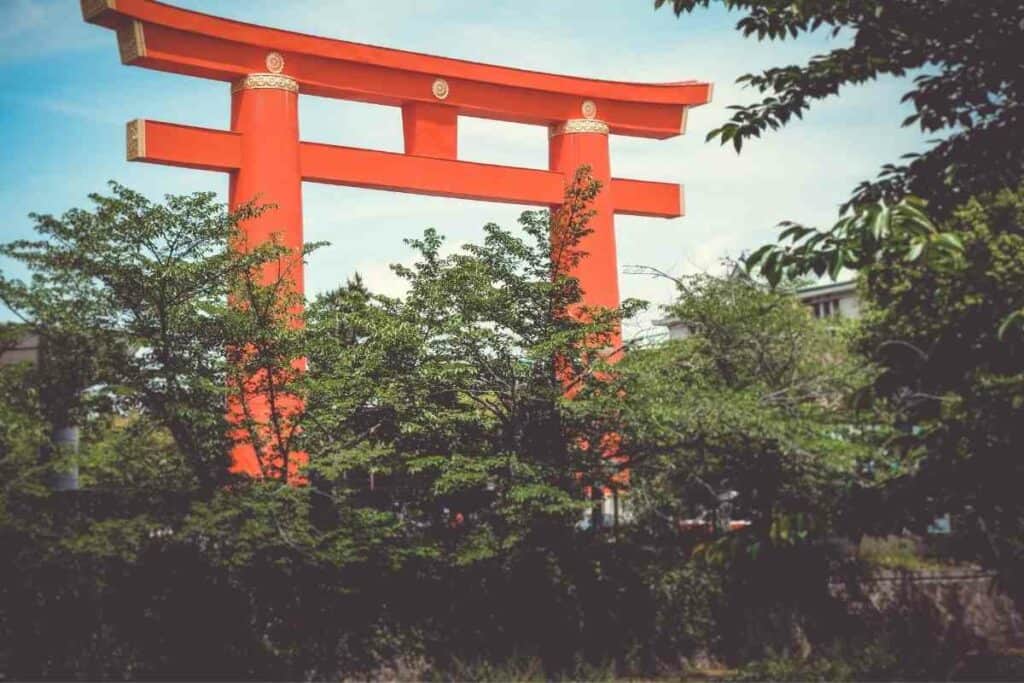
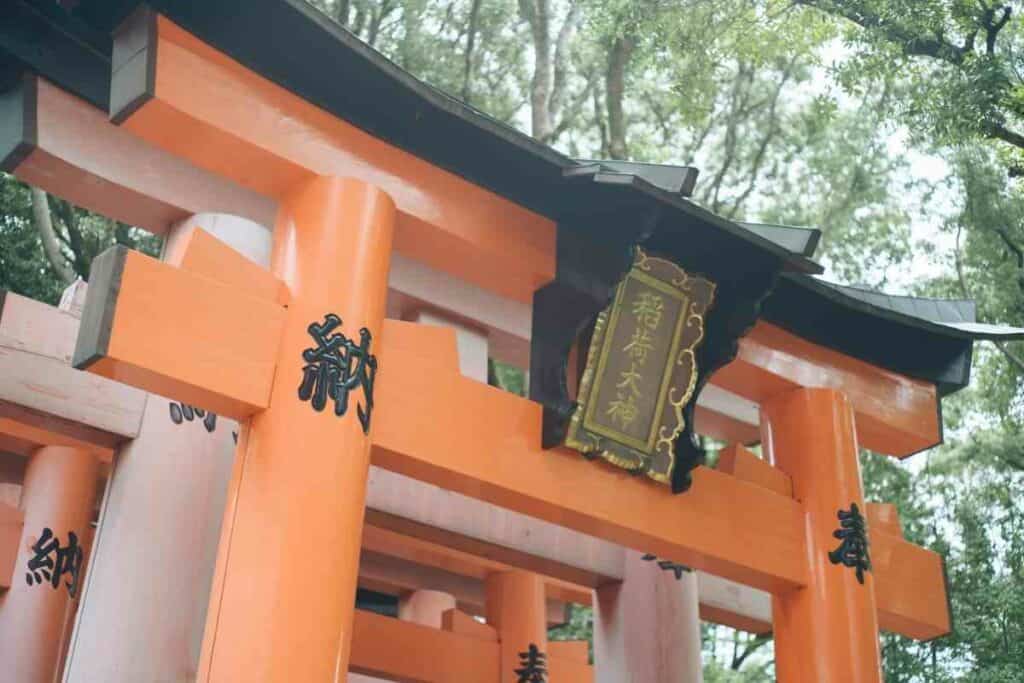
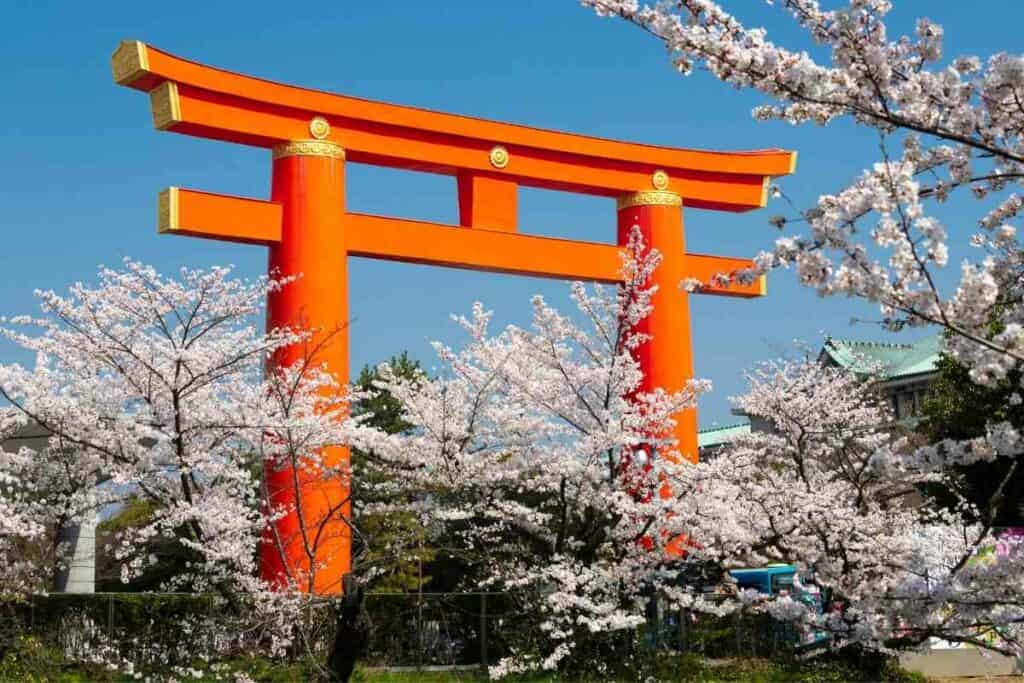
Another feature that you might also see is a Japanese Torii gate.
Prepping for a Japan trip? Visit our partner, Japan Objects Store, for travel essentials and authentic Japanese items.
Table of Contents
What are Japanese Torii Gates?
These traditional gates are most often found at Buddhist temples or shrines.
They mark the entrance into a sacred place and their existence is a symbolic marker for transitioning to the sacred from the profane.
Torii gates were constructed from stone or wood traditionally but nowadays, you’ll also find them constructed from other materials like:
- stainless steel
- copper
- or concrete
You’ll find them painted black or red, or simply left unpainted.
When Westerners have started to adopt torii gates, they have often added a modern twist to the traditional design elements.
Booking.comBuilding a Japanese Torii Gate in your garden
If you’re thinking about building a torii gate in your garden, you’re probably going to want to find inspiration from existing Japanese torii gates.
As the torii gate marks the entrance to a shrine or temple and separates the spiritual world from the physical one, these are the best places to take inspiration.
Arguably the most famous of all torii gates is located at Itsukushima Shrine, which is in Miyajima, near to Hiroshima.
Tools needed
Depending on your design, you will need different tools.
Here are some of the most useful tools to have to hand when making a Japanese torii gate:
- Power drill
- Power saw
- Hammer
- Router
- Tape measure
- Wood chisels
- Hand saw
- Spirit level
- Plane
- Set square
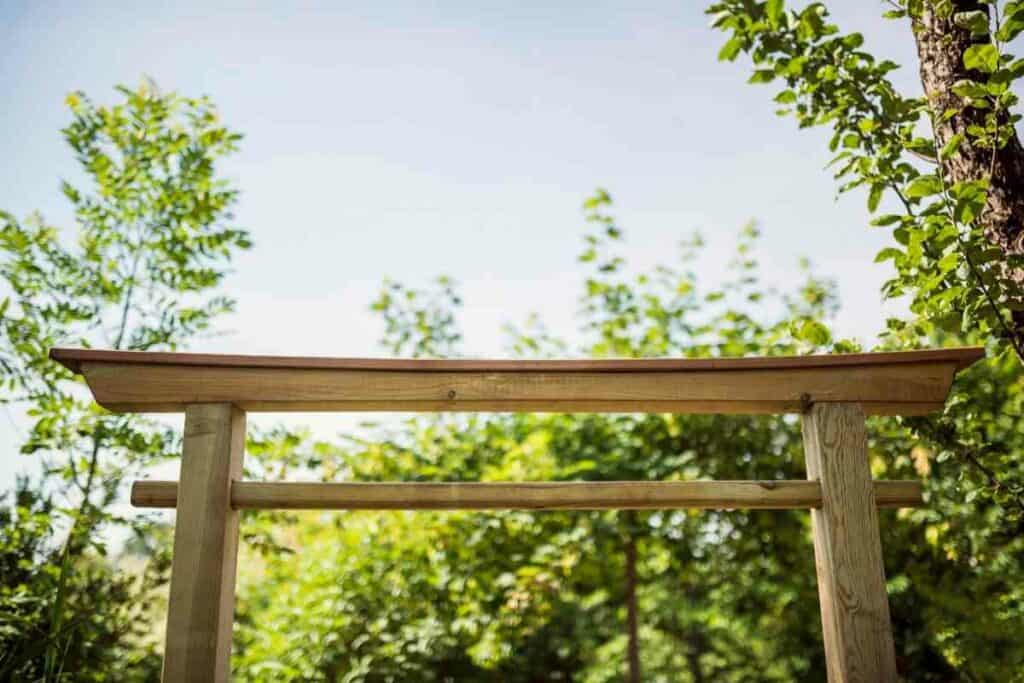
Components of a torii gate
There are three horizontal elements to a torii gate.

These are:
- Kasagi – the torii gate’s top beam. This is either curved or straight.
- Shimagi – the torii gate’s second beam. This is situated underneath the kasagi when the torii gate has a more complex design. The ends of this beam are either cut to slant inwards or straight. The beam should look like a trapezoid that is upside down.
- Nuki – this is the torii gate’s secondary beam. In complex torii gates, this is held in place by wedges called kusabi. The nuki is straight.
- Hashira – these are the torii gate’s supporting pillars.
- Gakuzka – the torii gates center post connecting the shimagi and nuki (optional).
Torii gate possible dimensions and materials
Usually, the Shimagi is placed below the torii gate’s lintels equidistant to the pillar diameters.
You can use hardwood or treated pine, for example, and the typical dimensions for the hashira would be 150 mm x 3.6 m.
For the nuki, shimagi, and kasagi, you can use oregon.
This is a good material because it won’t warp or twist as it ages.
Torii gate construction steps:
- To make the hashira, cut the logs to around 3 meters in length and then use the hammer and chisel to begin making mortise slots on each side. You can use a drill to remove most of the timber from the mortise slots then finish them by hand so that the nuki slide through freely.
- If the timber has splits, fill them and sand them around three times so that the finish is smooth. This will take time, but it is worth it for the end result.
- When painting the poles, use a jig. This will help you to spin the pole and paint them at the same time using a roller.
- For the kasagi, cut the timber using a table saw for the parallel portion and then use a hand saw for each end.
- Prime all timber and then paint with three vermillion finish coats.
- Bolt the structure together with galvanized coach screws (and washers).
- Use four long screws through your Shimagi (two at each end) to attach them to the end of the logs. Use a 100 mm screw through each log to secure your nuki in place.
Installing the torii in the garden
When everything has been painted and is ready to assemble in the garden, you’ll need to dig holes for the pillars.
These should be around 350 mm wide and 700 mm deep.
In the holes, use around 100 mm of rapid-set concrete to create a base for the poles to sit on.
Assemble your torii on the ground in front of the holes and tighten the coach screws.
With support from another person, lift the torii gate into a vertical position and then lower the posts carefully into the holes.
It’s a good idea to attach supporting braces as a temporary measure to the coach screws at the top in order to stabilize the structure while you wait for the concrete to cure enough.
Be sure to add the right amount of water into the holes to mix into your rapid-set concrete.
Quickly – Level up your posts and make sure they’re vertical from all angles and look good. This part will take some time to get perfect. Then, you need to mix up more concrete and fill up the holes.
As for the kasagi, this is decorative. It’s simply held in position with a piece of quad (30 mm) and screwed into position with galvanized screws. These should be at around 150 mm from the center at the rear.
The gakuzuka uses a 20 mm mortise and tenon joint on each end. You can skew nail it to your nuki before you paint it.
If you have a decorative brass plate for your gakuzuka, you can add this at the end with some brass screws and your torii gate is complete!
Final thoughts on how to build a Japanese torii gate in garden
Building a Japanese torii gate in your garden is a nice little project that will keep you busy in springtime ready to enjoy the gate during the summer months and beyond.
However you decide to construct your torii gate, you’re probably going to need the assistance of another person to help you get it into position and secure it there.
As with all joinery projects, patience is important – don’t expect to construct, paint, and install a torii gate in your garden in a single day!
Read Next
- Best Japanese Knives Top Picks for Every Kitchen

- Japan’s Bold New Trend: Dressing Like a British Gentleman (or at Least Trying)

- 7 Best Japanese Sunscreen Products You Can Buy Online

- 5 Best Japanese Makeup Brushes for a Flawless Finish

- 7 Benefits Of Tatami Mats You Should Know
- The Best Furoshiki Wrapping Cloths: Inspiration, Ideas & Cloths You Can Buy